Making use of your scraps
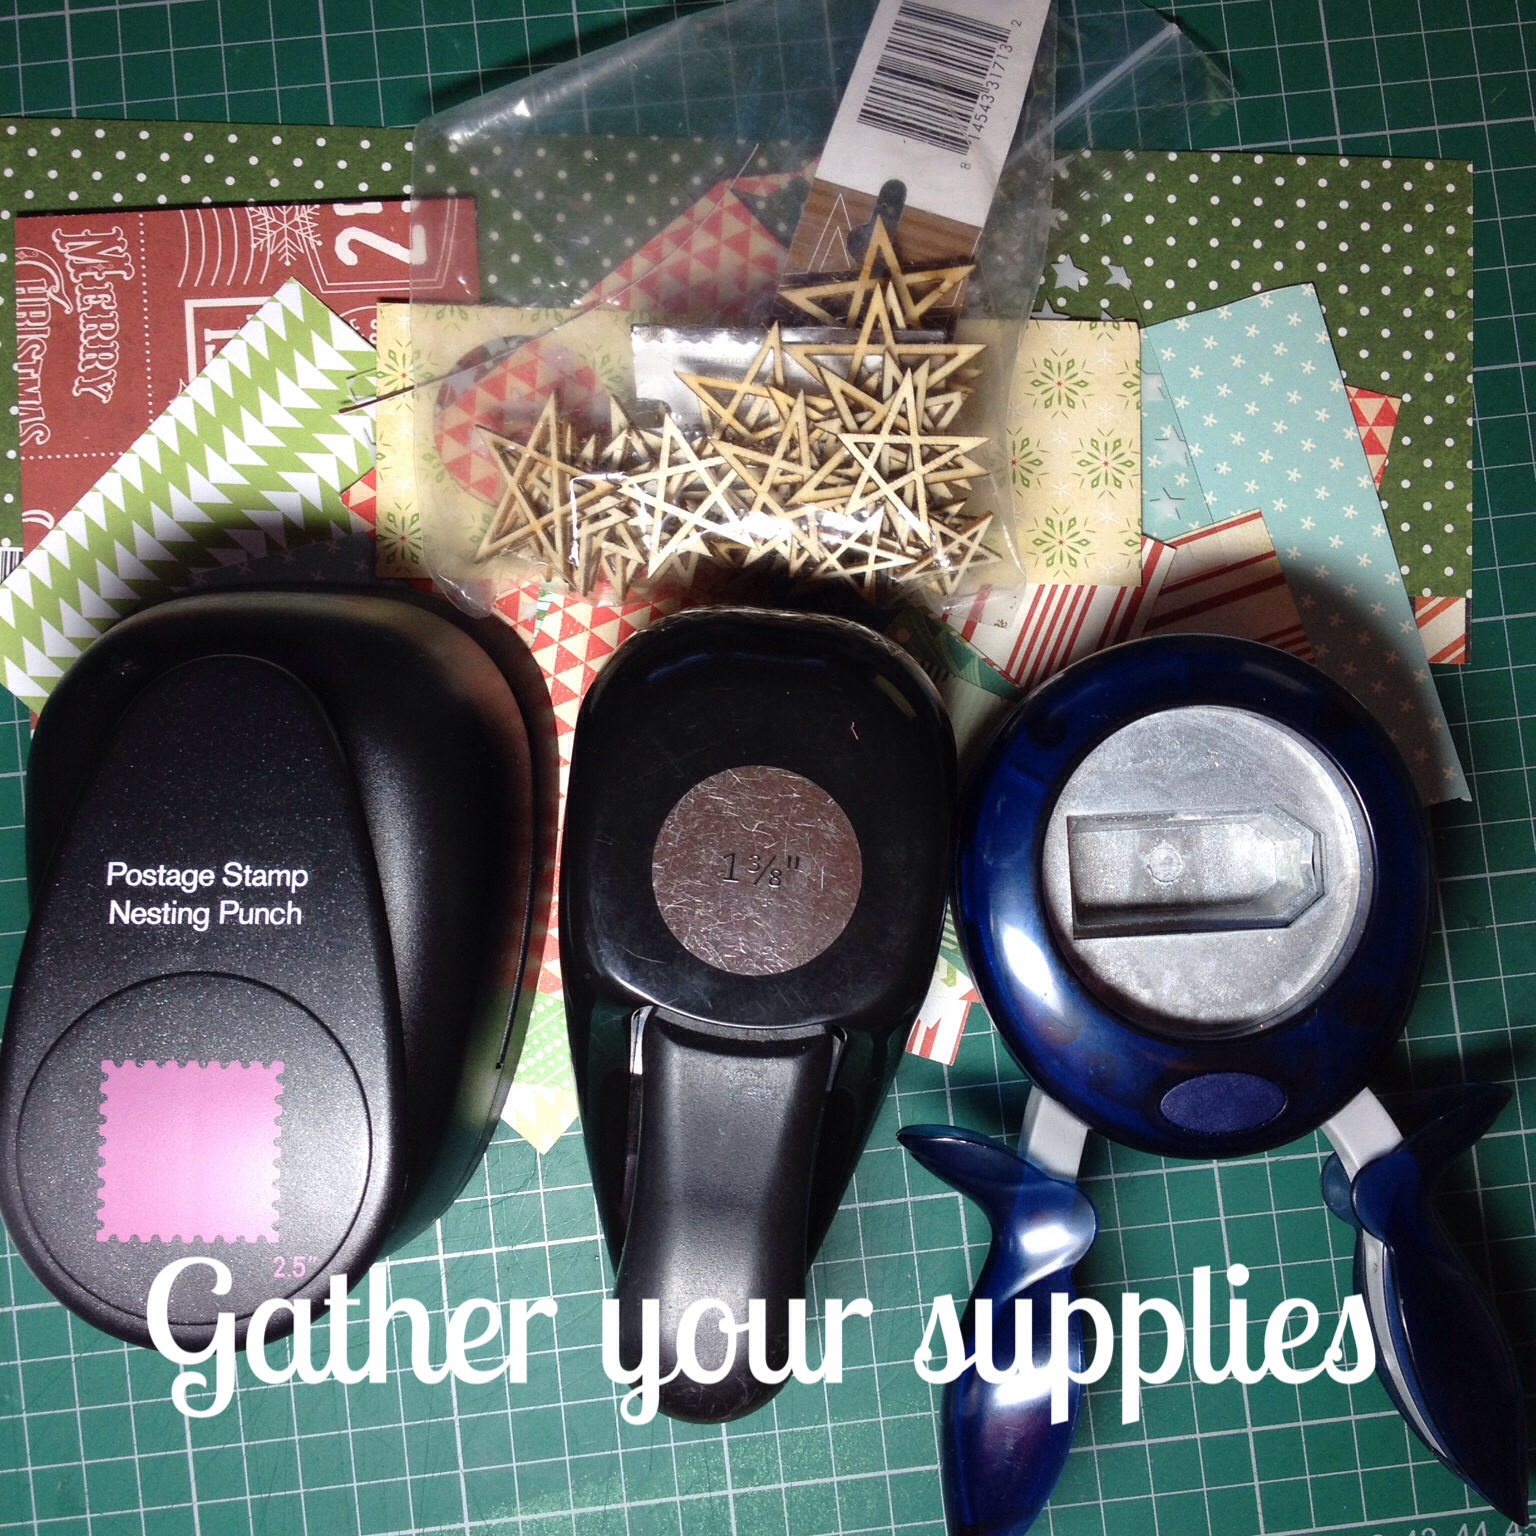
So that my December Daily album had a continuous flow I decided to make these to hold my dates.Gather together your supplies. I used:
a Stamp Punch
a Circle Punch
a Tab Punch
Wood Veneer Stars
Some ribbon
and any scraps of paper that you have.
Using a selection from the papers, punch out your shapes starting withe the large stamp punch, then use the circle punch.
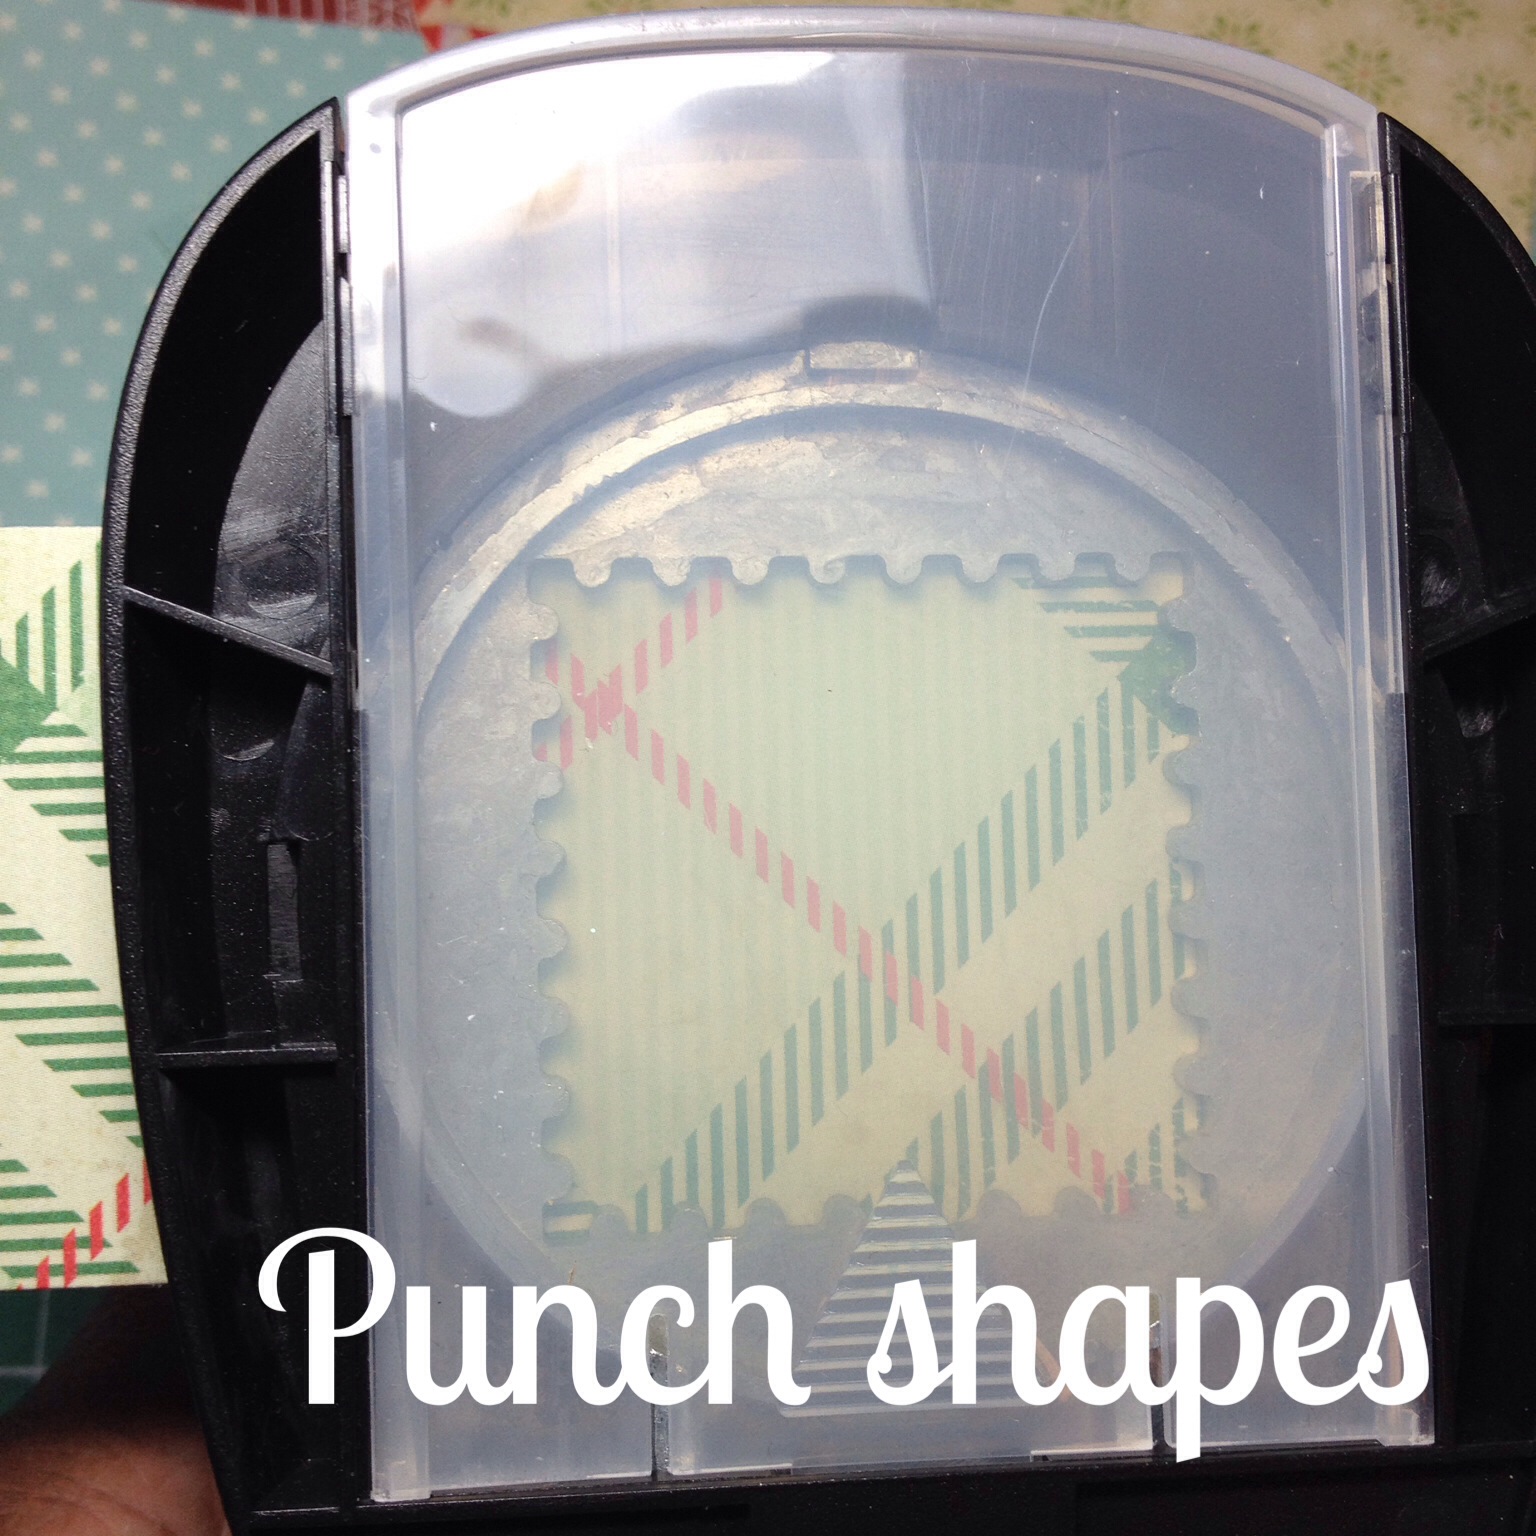
I used some printed acetate with my tag punch.

Cut the ribbon to about 2 inch stripsand cut a 'v-notch' into each edge.

Using different colours for each punched shape, and a small piece of ribbon, it is now time to assemble the date tag.
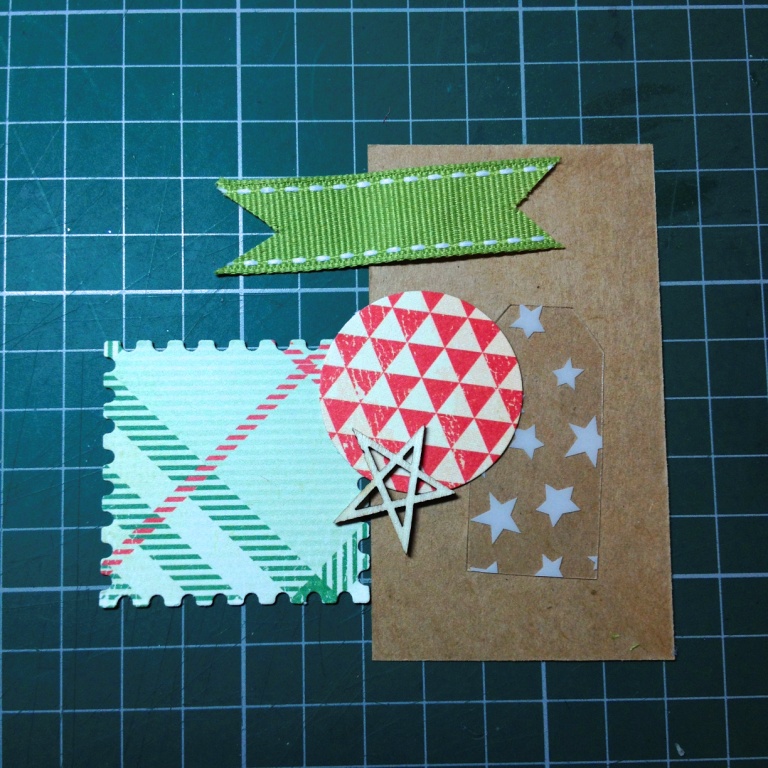
1. Starting with the postage stamp shape add the punched tag.
2. Add the ribbon over the top.
3. Then the circle
4. Then the star. I added the star to the bottom - it leaves some room for you to add the date.

You can even add this little embellishment to a tag and use as a gift tag or as a bigger embellishment for a scrapbook page or a card.

Thank you Jackie for a great tutorial.
I look forward to seeing what you all come up with, using whatever punches you may have. Or cut out shapes with scissors if you don't own punches! Perhaps you might use this idea to label all your pages in your 12 Months in View journal. Whatever you choose to do please share it with us using the linky below.