A Spring Tag
Ink
a variety of flowers in seasonal spring colours – I used Peacock Feathers,
Shaded Lilac and Squeezed Lemonade with either stains or inks.
Ink
the flowers lightly around the edges with Tea Dye distress ink. Put the flowers
to one side to dry.
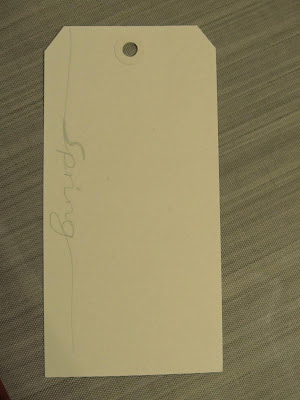
Handwrite
lightly in pencil ______spring_____ on your tag and then sew using the pencil
lines as a guide, when complete rub out the pencil lines.
Add
a couple of sewn lines vertically for the stem of the flower.
Place the cloud mask in position at the top of the tag and lightly ink around using Shabby Shutters and Tumbled Glass distress inks in big circular motions.
Remove
the mask to ink the rest of the tag.
When inked replace the cloud mask and gently ink around the edges of the
clouds with Tea Dye distress ink to define the edges.
Remove
the mask and ink around the edges of the tag with Tea Dye distress ink.
Cut
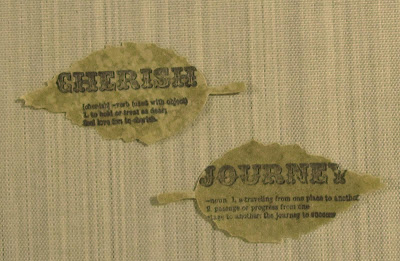
out two tattered leaves in glassine paper.
Stamp a Kaisercraft Secret Admirer Definition (or use a script) stamp
onto each one, scrunch up the leaves, flatten them and ink with Mowed Lawn
distress ink.
Cut
out an On The Edge Picket Fence in white cardstock, using a black pen draw on
some marks and knots to define the post then, very lightly, run a foam pad with
Iced Spruce distress ink over the top to just tone down the whiteness.
Build
up the flower petals in different colours and finish with a brad.
Adhere
the elements to the tag – leave a bottom edge on the fence die cut to slightly
extend the length of the tag, trim and finish with ribbon.
Take
a 20” length of tissue tape and fold it over on itself, crumple and then use as
a tag tie to complete the tag.
And here's the completed tag:
Thank you so much for the tutorial Nicola.
If you don't have the dies and inks that Nicola has, then use her tutorial for inspiration and come up with your own version. Don't forget to add your version of the tag with the linky below.


